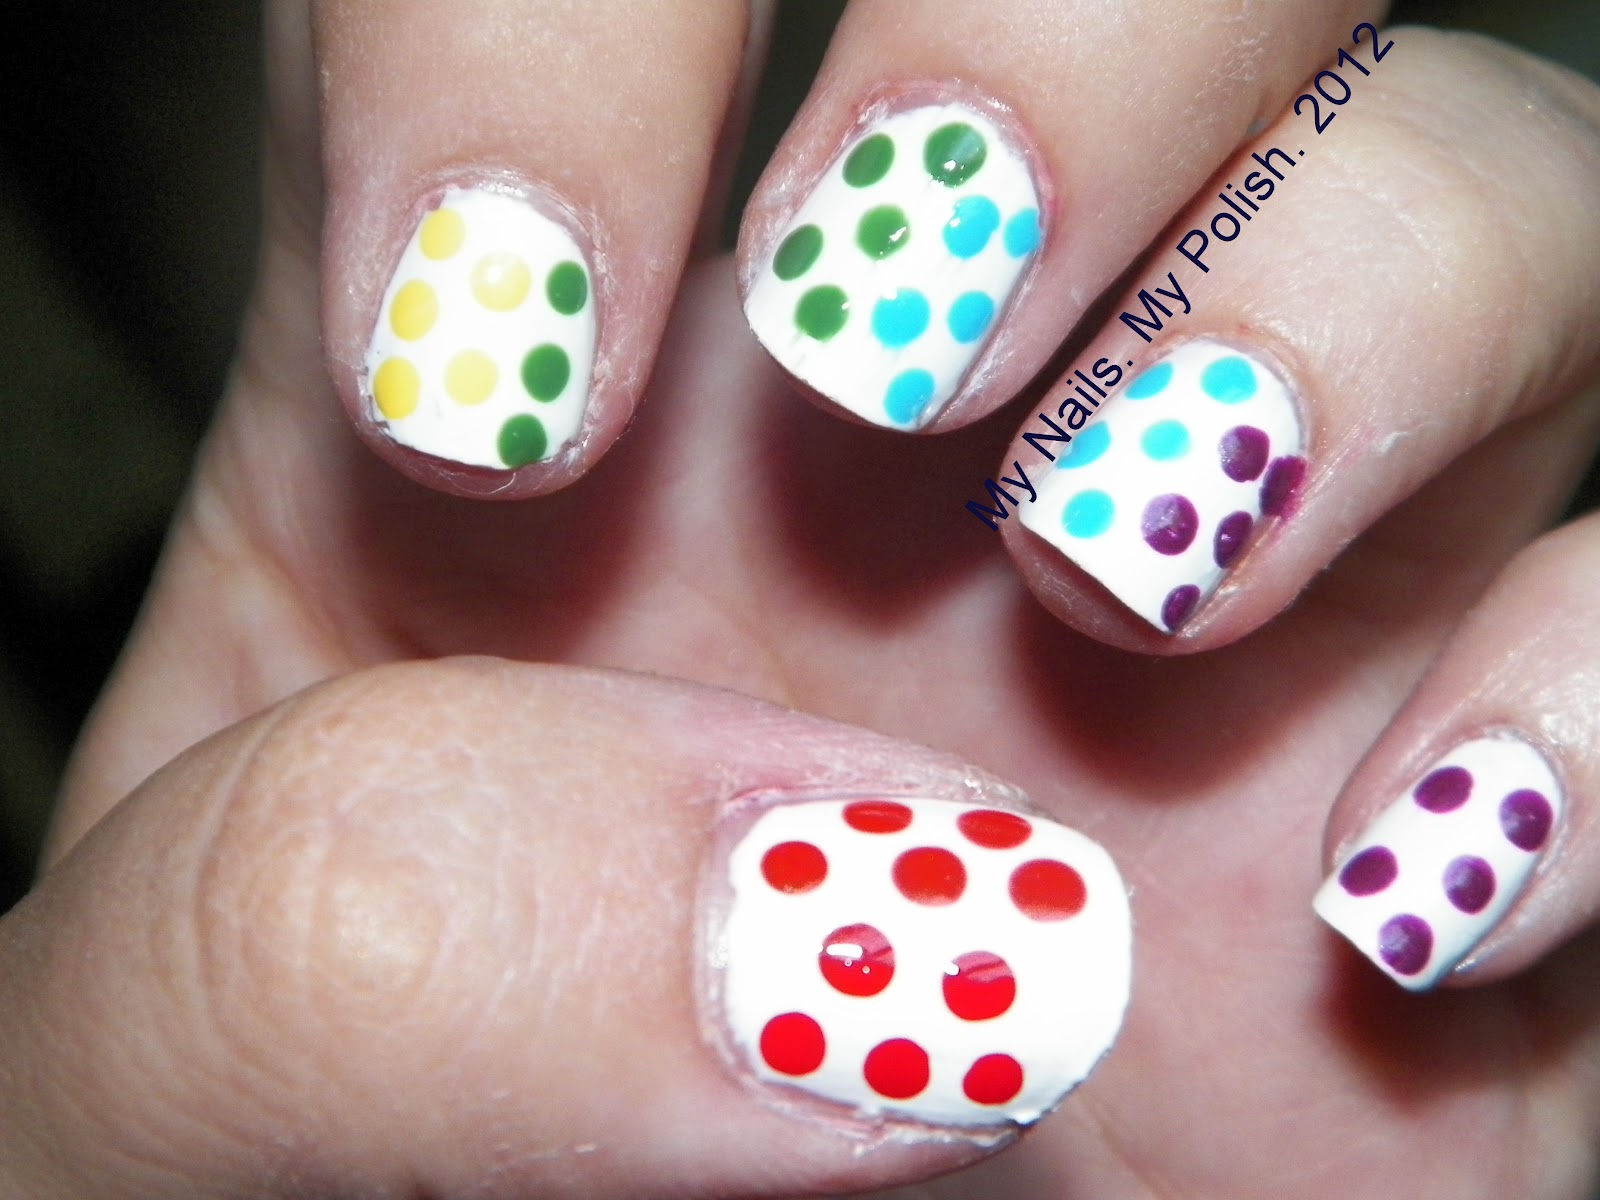
Happy Friday! Who's ready for the weekend????
Did you know that this is also my 200th post??? That's crazy!!!
So lets get this post started!
Today's post is going to be nail art tips that I'm sure you've heard before, from other nail bloggers to nail YouTubers. But these are tips that are worth repeating because they are the ones that work!
Tip # 1
No dotting tools? Easiest fix in the world! Do you own toothpicks? If you don't I suggest the next time your in the supermarket that you pick some up! They are the next best thing to having a real dotting tool.
All you have to do is snip the tip of the toothpick off which I have mentioned several times in my posts and file down the end with a cheap nail file and you get the perfect surface to make perfect dots!
Tip # 2
Don't have the money to buy a fancy brush set?
Even though on most days you can find a pretty decent brush set for not a lot of money on Amazon or eBay but some of us still can't really afford to buy one especially with shipping now a days. My suggestion and one I have used is go to your local craft store like Michael's or even Walmart or any of those big box retail stores and go to the craft section and get the doll detail paint brushes. They are pretty much the same as if you bought a professional set but cheaper. I got a set if five brushes for about $6 bucks!
Tip #3
Is your stamper not picking up the image from your image plate?
I have had this happen on more than one occasions and it is super fustrating and probaby one of the most annoying things as well! Well here's what I do and I learned this tip from another blogger so it's not my own. Like I said above these tips work.
Using a cheap nail file, even like the cardboard ones or evening the one you used to file down the toothpick just gently rub it across the silicone stamping pad on your stamper. It will roughen up the stamper and the image will stick better.
Staying in the stamping corner of this blog post, do you ever have a polish that is too thin to use stamping? You may want to do this to a less expensive polish but if you leave the cap slightly open for a little while the polish will thicken and be better for stamping. Older polishes in your stash that have thickened overtime are also good to use for stamping if you done have the money to buy the special polishes.
Tip # 4
Removing glitter polish... It can be a nightmare. I'm sure you heard bloggers and YouTubers talk about this removal method but I'm just going to reiterate it. The tinfoil method.
First you take a a cotton ball and put some polish remover on it , then place it on your finger and then wrap a peice of tinfoil over it and wait about five to ten minutes. Once the time has passed you can pull the tinfoil and cotton off and the glitter should come right off!
Now once you have done this apply a cuticle oil or cream to rehydrate your cuticle, nail and surrounding skin, sadly polish remover sucks the moisture out if the skin.
Tip # 5
Doing color block manicures with scotch tape. I have only done a few manicures like this but I've learned the only tape that works is scotch tape. This is an alternative if you don't have striping tape which is super affordable online but if your wary of ordering online this might be for you.
When deciding to do a tape manicure be sure to get the good scotch tape using masking tape won't work because I found you can't wear the stickiness down like you can on scotch tape (and still get scotch tape to stick). Even using dollar store scotch tape can be sketchy. I like to take the tape I am going to use and press it against my hand a couple of times and then place it over the already dried polish. If you want to do smaller lines like striping tape does use cuticles sicssors and cut small stripes.
Also make sure to leave a enough overlay on the skin so you can take the tape off easier!
So I hoped those five tips helped you out in any way shape or form! I know we have all heard these tips before but they are so worth repeating!
Take care and ill talk to you on Monday!
<3 Nicole.